The shabby chic fabric flower was made to compliment this dress commissioned by a client.
Here is a step by step tutorial of how I achieved this
What you need
4 Long piece of lace fabric approximately 10"x2"
1 long piece of satin, tear the satin rather than cutting to give a shabby rolled edge
approximately 10" by 1"

Lighter, or matches, scissor, matching cotton, sewing machine and needle
use the lighter to seal the edge of the satin if this is fraying too much.

Now we begin
Using the longest stitch on your sewing machine, run a long running stitch along the long edge of the satin strip.


use the lighter to seal the edge of the satin if this is fraying too much.

Using the longest stitch on your sewing machine, run a long running stitch along the long edge of the satin strip.

Now run a long stitch down the middle of the lace fabric strips
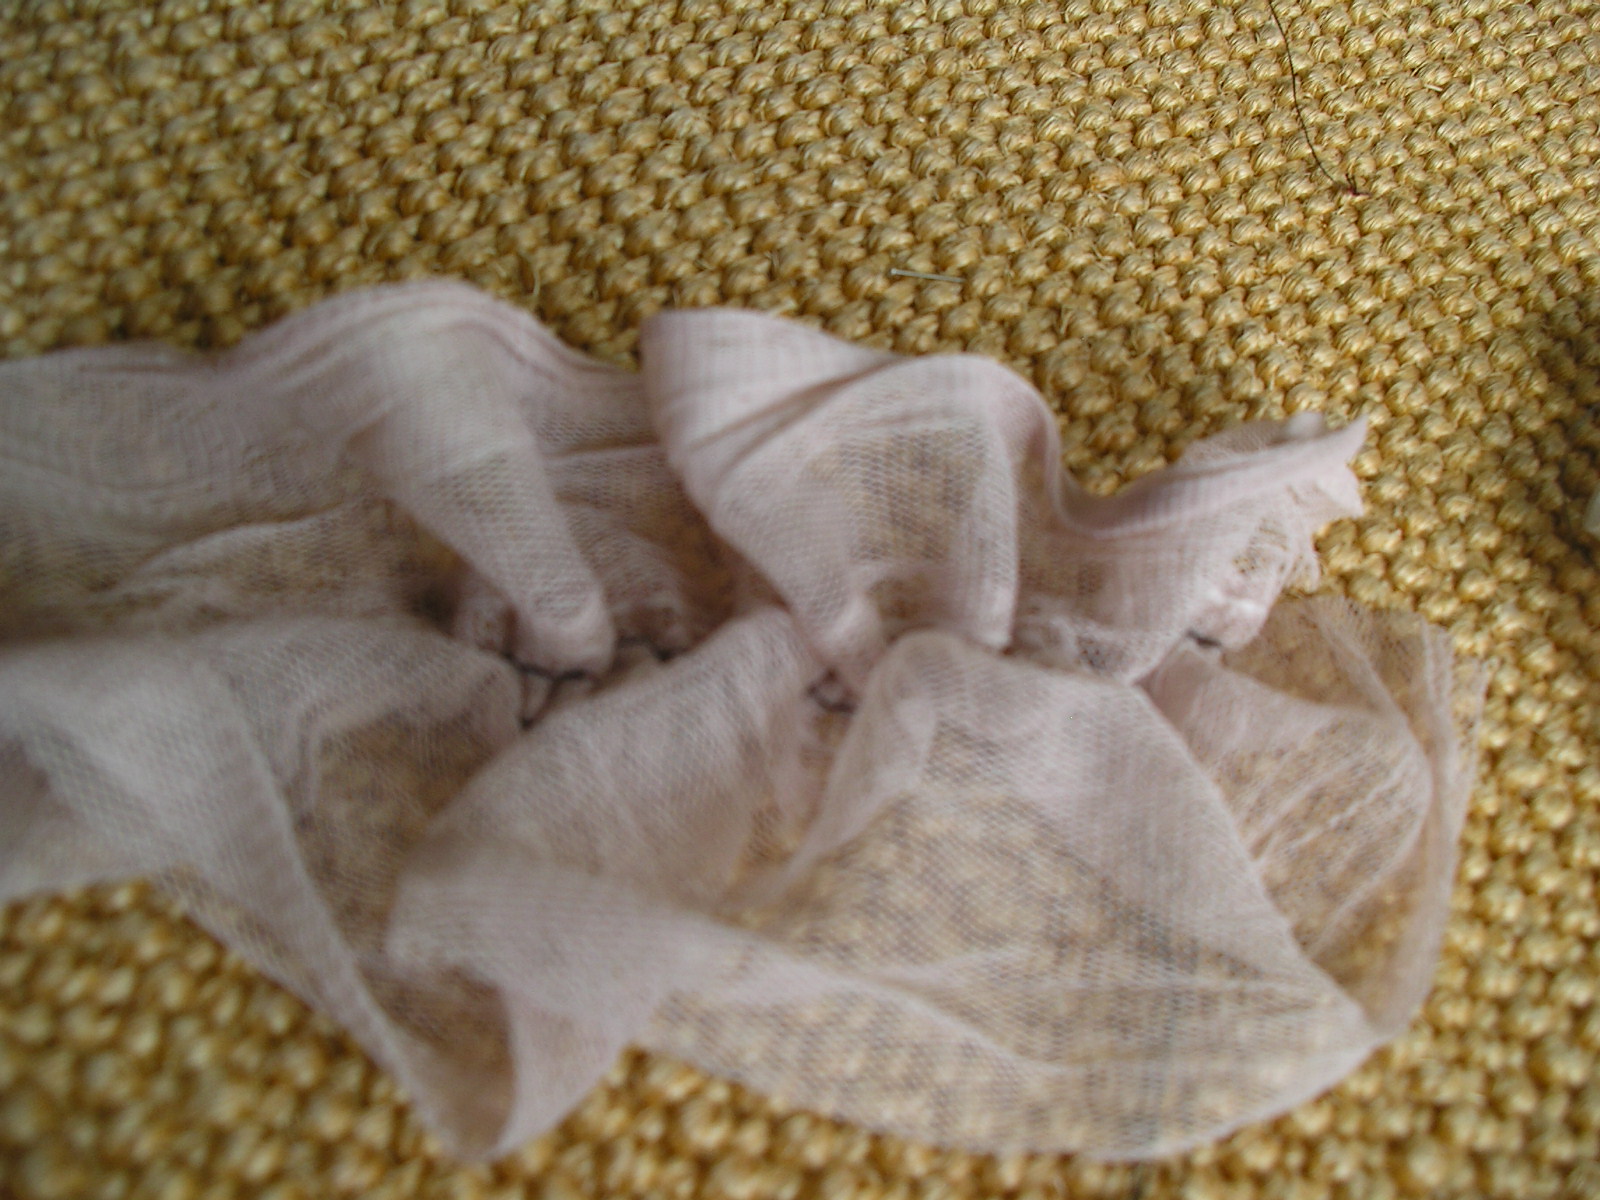
Pull the loose thread to gather your fabric strips, secure ends of thread


Now begin rolling your fabric strip, stitch the layers in place as you go

Make 4 lace rosettes and one satin rosette

Now start building your flower
Cut a piece of felt or matching fabric into a disc that is wide enough to cover the base of all your rosettes, don't worry if this is too big you can trim away any excess.
I used a piece of satin and burned the edges, sorry for the poor quality of the picture


Now attach the satin rosette to the disc, then place the lace rosettes around the satin rosette stitching in place as you go. If you wish you can glue this in place, instead of sewing.

Tah DAh here you have it your shabby chic fabric flower


Shabby chic fabric flower in place on vintage inspired dress
I hope you enjoyed the tutorial, I would love to see your finished flower.
2 comments:
Love your flower! Thanks for sharing your tutorial.
Lovely flower! It's so pretty! Thanks so much for linking up to our Pinteresting Party!
Post a Comment